A large family, homeschooling, adoption, special needs, whatever strikes my fancy, sort of blog.

A large family, homeschooling, adoption, special needs, whatever strikes my fancy, sort of blog.

Monday, May 9, 2016

Mother's Day Out Takes


I love taking pictures of the kids, and they humored me yesterday since it was Mother's Day.  However, it sometimes takes several shots to get one that I'm happy with.  The outtakes make me laugh, so I thought I'd share a few of them.  


Sam was busy on the computer, so he and Luke were the only ones I shot in the house.  Everybody else went outside.


Hannah is really easy to photograph.  I point the camera, and she plasters on a CHEESE face.  So I told her to just relax while I got set up.  Even her resting face is lovely.


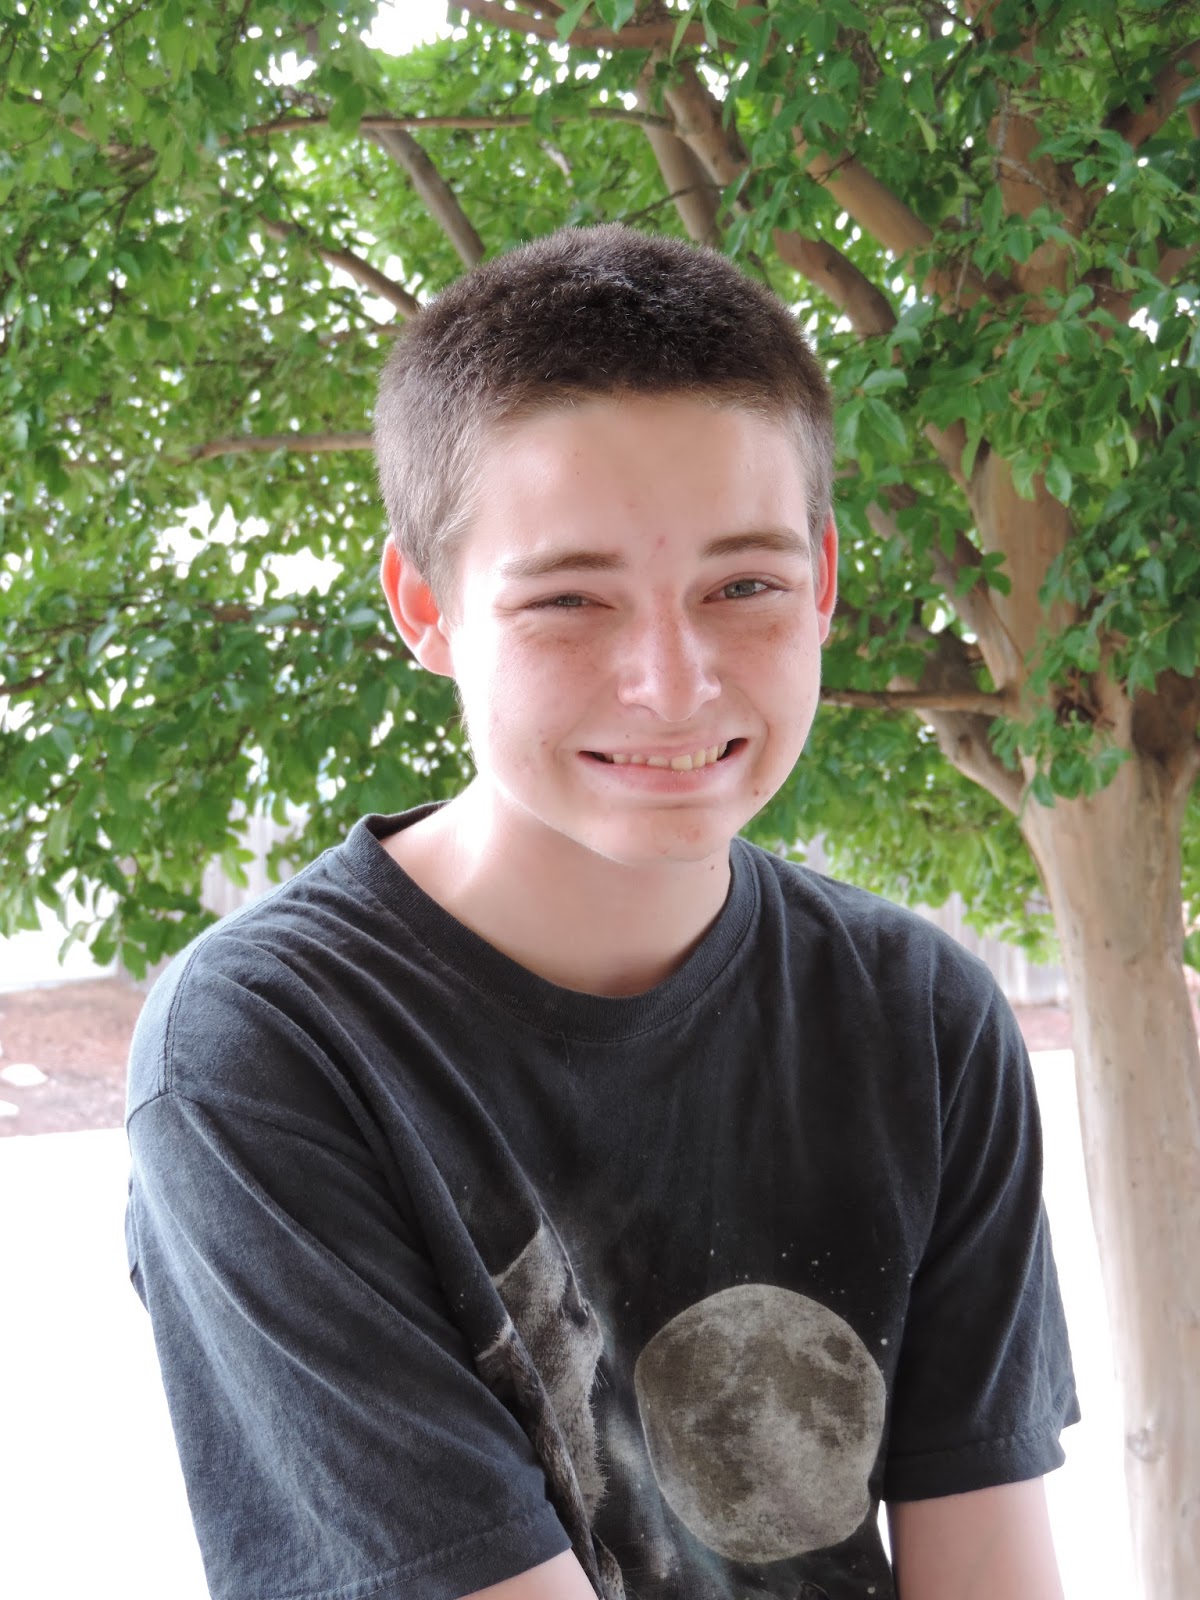
Lukey, well, he's not so easy to photograph.


I was bummed I didn't get a good picture of Lukey, but I do have a couple of recent smile pictures, so I guess you can't win them all.


This is a sweet one, but he's not looking at the camera.


"Smile.  Smile with teeth.  Seriously?  This is not rocket science."


I give up.


Pictures?!


I'm not sure what was going on here.  It looked like a scene out of a dramatic play.

Eventually, however, I got enough pictures to create this:

Mother's Day 2016

Zachary, Heather, and Brayden; Josiah; Sam; Brianna; Eli; Jack; Hannah; Katie; and Luke.

Mother's Day 2011

What a huge difference from 5 years ago!  Paul, me, Eli, Brianna, Sam, Jack, Annaliese, Josiah, and Hannah down in front.  I'm kicking myself for not at least trying to get a group picture yesterday, but we're notoriously hard to photograph as a unit.

I wonder what our family will look like 5 years from now?


This post may be linked up at these linky parties.

Top Mommy Blogs - Click To Vote! Thanks for clicking for us!

Friday, May 6, 2016

Our Week with a Surprise Doctor Visit


This ended up being a busy week!  For only having a couple things on the calendar, that is.  We didn't get as much schooling done as I would have liked.


Luke had his neurologist appointment on Monday.  Nothing new there.  The new neuro felt he should be in Physical Therapy, but honestly, he never met a single one of the PT goals on his IFSP in EI, and I think he met one PT goal on his IEP in school last year.


In contrast, Luke came home from his 4 months away having learned to scoot around the house on his bottom, and he has recently learned how to sit from standing.  Not from 25 minutes of PT a week (which he's no longer getting), but because I stand him up to pull up his pants/shorts after changing his diaper, and leave him in a standing position to strengthen his legs.  He's not crazy about standing, so he learned to let go of the crib bars and sit himself down.


If you missed it, we did a spring flowers art project that was a lot of fun.

Before... and after.

Hmm, notice anything different?  She had a friend dye her hair for her.  She's planning to do color over the summer, but hair must be a "natural hair color" during the school year.


I spent some time in the sewing room and made a blanket for Project Linus.  I used to make blankets for them several years ago, but between life being overwhelming and the sewing room being so full of junk, I quit.  Feels good to be able to participate again.


Front is a Brown Bear Brown Bear What Do You See? print, back is golden yellow minkee.


Tuesday we ended up with a surprise 2+ hour doctor's visit.  Katie was coughing a little on Monday, and woke up wheezing on Tuesday.  She's doing better now, but she was really having a hard time for a while.  If it doesn't sound too terrible for me to say this, I'm grateful for the chance we had to hang out just the two of us, and snuggle.  And laugh with the x-ray tech, who gave Katie 4 princess stickers for being such a rock star patient.


Wednesday was Brianna's last Home soccer game.  They're doing well, so there will be some playoffs, but the season is drawing to a close.


And there she is!  00 in the white uniform.  The uniforms are numbered by size, so she's the team peanut.  She didn't get much playing time, but I'm glad I got to go see her play.


As for this guy, swim has ended (all but the banquet).  With only 4 weeks of school left, he's focusing on making sure he passes all his classes.


Something else very exciting happened Wednesday night.  Annaliese flew back to the USA.  We're looking forward to seeing her for Sam's graduation.


Do you do the airplane game at your house?  I used to do it with all my babies and toddlers.  Bri still does it with Katie once in a while.  Well, Eli's got some strong legs, because he's lifting Brianna!

In school this week, we covered our 3rd president, the Haitian Revolt, and the Industrial Revolution.  We also covered the Louisiana Purchase.  I learned which president made the purchase, who he bought it from, and why the seller needed cash.  Somehow I missed all of that when I was in school!  We also gave a carrot blue dye to drink for a couple days and then cut it open to see the dye creeping up the inside.  I didn't get a picture of that, but it was pretty cool.

Next week we'll learn about Lewis and Clark, more about Napoleon, and begin learning how to research and write state reports.


This post may be linked up at these linky parties.

Top Mommy Blogs - Click To Vote! Thanks for clicking for us!

Tuesday, May 3, 2016

Doodle Across Multiple Subjects with Kwik Stix


You guys know how much I love art supplies, right?  So this has been a super fun review for us.  The Pencil Grip, Inc. sent us a Kwik Stix 12 pk. to play with!


When I opened the box and saw the info page and the sample pencil grip they sent us, I realized,

     These guys make the pencil grip that Katie uses!  

When I had concerns about Katie being able to write with her "different" hands, Shriners sent us home with a few things to try.  What stuck as the best option for her is this funny little yellow thing you see in lots of pictures of Katie doing her work.


So The Pencil Grip, Inc. has my gratitude for making a product that helped Katie learn to write.  Even though she can write without it now, like when she uses colored pencils, she still prefers to use her special pencil with it's yellow grip.  If you have anyone in your family who might benefit from some help holding a pencil correctly, please check them out.

But I'm here to tell you about Kwik Stix today.  You know glue sticks?  Chap stick?  Sunscreen for your face sticks?  Mess free and easy to use, right?  Okay.  Now picture tempera paint in a tube like that, and you have Kwik Stix.


The kids took to them right away.  They glide across the page.  They're not sticky like a glue stick, they're more like a giant, super smooth crayon in a plastic wrapper.  Almost like an oversized oil pastel, but they don't get all over your hands.


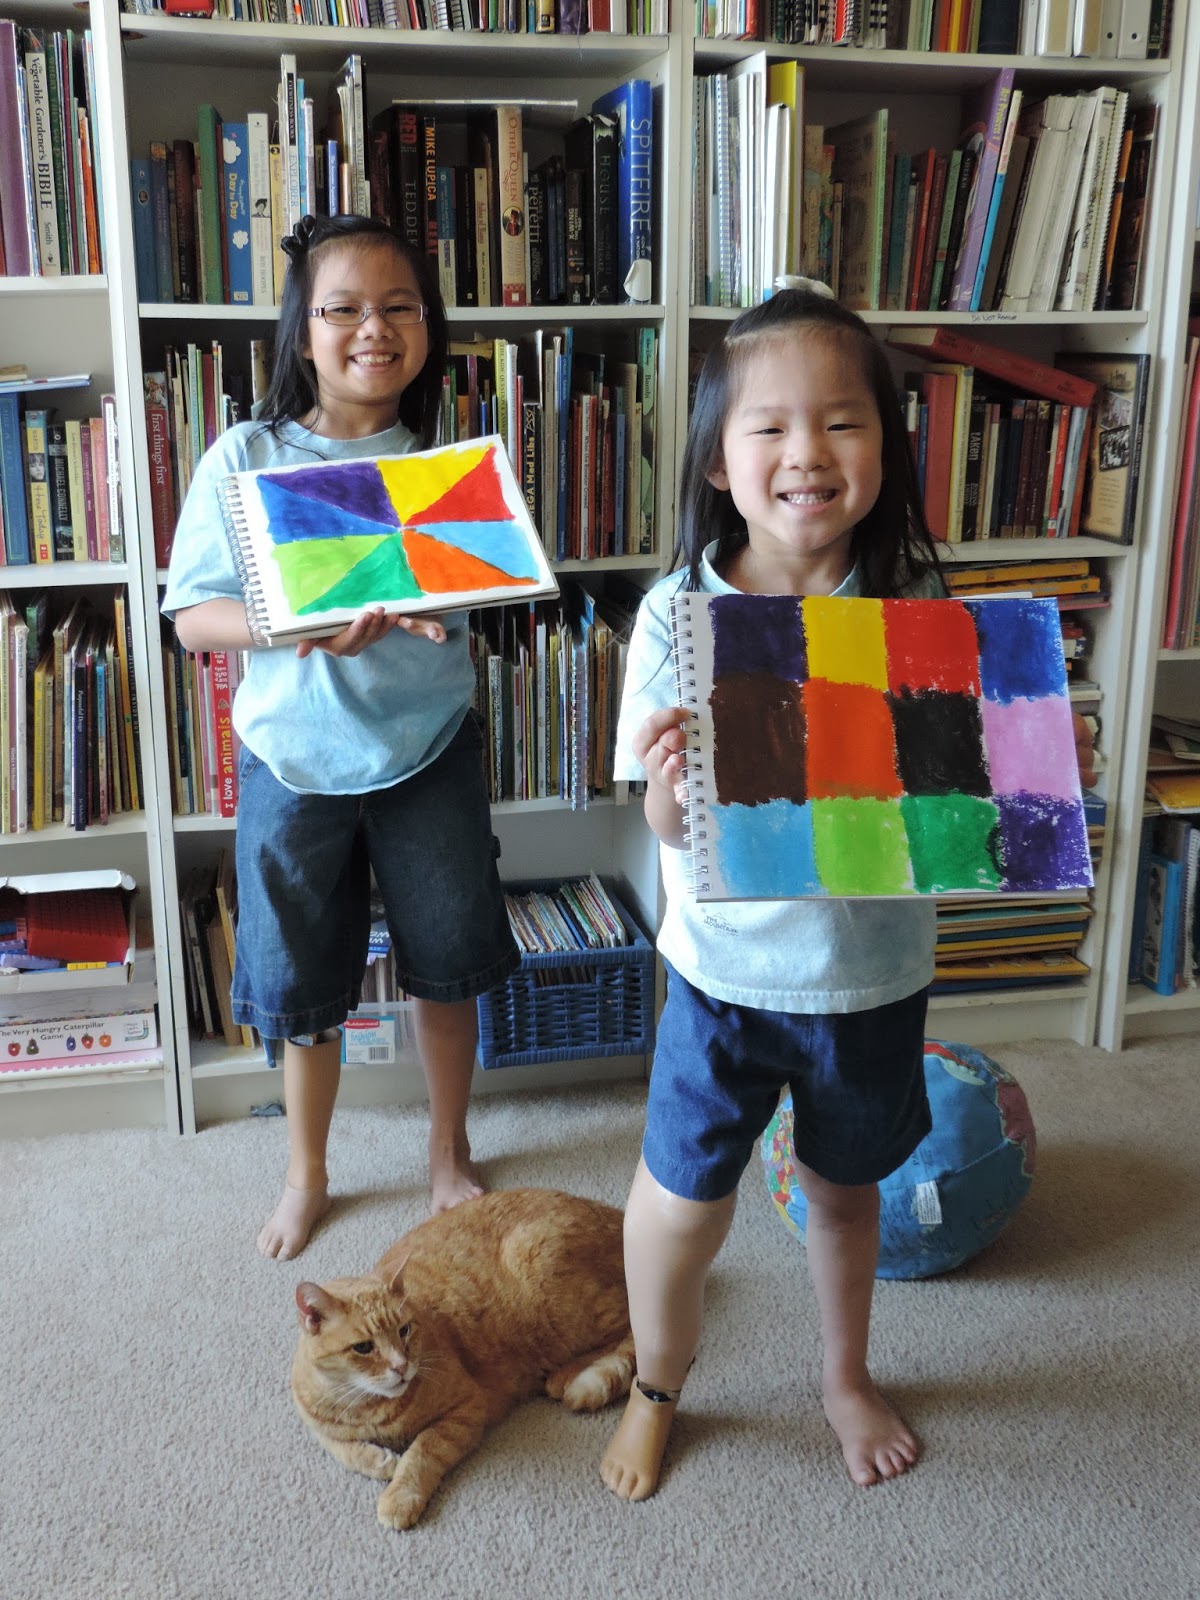
You can see how wonderfully brilliant the colors are, even after the paint dries.  In this picture, the girls have drawn quilts, to go along with what we're learning in history.


I used the Kwik Stix to make this vowel sounds chart we've been using for English.


They dry super fast!  In about a minute.  We have literally not had one mess from Kwik Stix.


We're still working on Mr. Popper's Penguins from our recent literature review, and so we drew penguins with our Kwik Stix, copying our plastic penguins.  The one on the left used light strokes and achieved an airy, almost gray look in places.  The one on the right used even pressure and got deep black.


In science, we're studying botany, and we learned what makes something a fruit.


I had the kids draw several fruits while I read surprising facts, like a strawberry is not a berry!  Who knew?


See that big yellow guy?  That's Goliath.  See that little bitty brown guy under his shield?  That's David.  Thanks to our favorite Bible curriculum, the kids enjoy drawing stick figure scenes from Bible stories.


Hannah's version of Noah's ark with 3 fish (there's a pink one between the other two, it's just hard to see).

So you can easily see how Kwik Stix can be used in multiple teaching areas, like history, English, literature, Bible and science.  What about art?


We have different types of paper from a recent art review, so I thought I'd show how the Kwik Stix look on each.


You can see the two different effects on the pumpkin.  The only change was the difference in pressure.  The manga paper on the right is super slick and the Kwik Stix glide across it.  I really like the feel of it!  But they don't blend well on this paper.  The 60# and 90# papers both achieved nice results with firm pressure, with the heavier paper being spottier with light pressure.


I thought the white on a dark paper might produce a sort of chalkboard affect, so I tried it.  I had to use more than one layer, but it does work.  (The stars/snowflakes are silver colored pencil.)

By now, I'm sure you've thought up some great ideas for including Kwik Stix in your homeschool.  How about entering to win a pack of your very own?  The Pencil Grip, Inc. has generously offered one of my readers a multi color 12 pack of Kwik Sticks.

a Rafflecopter giveaway
In addition to the great basic colors in the Kwik Stix 12 pk, The Pencil Grip, Inc. also offers two different specialty 6 packs.  A few members of the Crew were already familiar with classic Kwik Stix so they received Neons and Metalix instead.  You can read all the Crew reviews by clicking the box below.

Kwik Stix The Pencil Grip, Inc. Review

Crew Disclaimer

You can connect with The Pencil Grip, Inc. on Facebook, Twitter and Pinterest.  I'm sure you'll be seeing more artwork featuring Kwik Stix from us in the future.  They're fun, easy, and mess free!


This post may be linked up at these linky parties.

Top Mommy Blogs - Click To Vote! Thanks for clicking for us!

Sunday, May 1, 2016

Spring Flowers Art Project


Last summer, someone posted a link to my Facebook wall about doing fireworks paintings using empty toilet paper tubes.  This is my floral twist on that project.  This would be a great project to work on after a nature walk paying specific attention to the details on your local flowers.


You will need the following supplies (affiliate links are included for your convenience):
empty toilet paper tubes (at least one for each color flower you plan to make)
9x12" construction paper in blue
green construction paper, yarn, or pipe cleaners
scissors
glue (we used sticks, but you'll want liquid glue for yarn or chenille stems)
cotton swabs
liquid tempera paints


First, you need to cut "petals" in the TP tubes.  We've been learning about botany this semester, so we talked about how some flowers have 5 petals, some have 6, some have lots of petals.  This would be a good time to bring up the flowers you saw on your walk.


You can cut short, fat petals, or long skinny petals.  You can make the edges pointy or rounded.


This is the flower I made as an example for the kids.


I wanted some pink flowers, but the pink we have is more of a fuchsia, so I added some silver both to make it lighter, and to add a little shimmer to it.

With a sky blue background paper, you'll be able to use lots of different flower colors, even white!


I tried having the kids stamp in the paint on a paper plate, but unless you use a lot of paint, the paint starts drying out fairly rapidly.  I didn't want to be wasteful, so we ended up using a brush to quickly brush the paint onto the petals and then stamp it onto the paper.  Be sure to have the kids press each petal to the paper before lifting.


After you have your flowers painted on your paper, you end up with a fun little bouquet of cardboard flowers as "leftovers."  They're kind of cute all on their own.  You could paint the base green or wrap them in green construction paper and use them as a centerpiece or even place cards at dinner.


I had the children cut green construction paper to make stems and leaves for their flowers.  We reviewed how some plants have alternate, some have opposite, and some have whorl leaf placement.  You could also use green yarn to make stems and leaves, or even green pipe cleaners, if you prefer more texture or you run out of green construction paper.

At this point, the flower petal paint is dry, and it's time to paint the insides of the flowers.  The kids chose brown for their gold petaled flowers.  I had a heck of a time blending a good brown.  I made a lovely dark teal, though!   Eventually, we got brown, and after looking at sunflowers online, the kids dabbed brown paint into the center of the gold flowers with q-tips.  Dot dot dot dot dot!  The pink flowers got yellow centers, and a recycled milk jug cap is the perfect stamping size for this.


Happy May!  (Don't mind our photobomber.)


This post may be linked up at these linky parties.

Top Mommy Blogs - Click To Vote! Thanks for clicking for us!